
How to remove a popcorn ceiling is a common question for homeowners. This guide explains the safe steps to remove a popcorn ceiling. It covers testing, permits, tools, removal, repair, and hiring a pro. The reader will learn clear actions they can follow. The tone stays practical and direct so a homeowner can plan the job with confidence.
Key Takeaways
- Before removing a popcorn ceiling, test for asbestos through a certified lab and secure any necessary permits to comply with local regulations.
- Prepare the room thoroughly by clearing furniture, covering floors, sealing vents, and gathering essential tools like a garden sprayer and drywall knife.
- Use the wet-strip method by spraying warm, soapy water on small sections and gently scraping with a wide drywall knife while avoiding drywall damage.
- Repair any gouges with joint compound, sand smooth, and apply a quality primer before painting with your chosen finish for a clean look.
- Hire a professional if asbestos is present, damage is extensive, or to ensure a flawless finish, and always compare multiple quotes detailing scope, costs, and licenses.
Check For Asbestos And Legal Requirements Before You Start
Homeowners must ask if the ceiling contains asbestos before they remove a popcorn ceiling. They should hire a certified lab to take a small sample. The lab will test the sample and report results. If the lab finds asbestos, they must follow local rules or hire a licensed abatement contractor. They should also check local building codes for permits. Some cities require a permit for ceiling work or disposal of asbestos materials. They should contact the local building department for rules and disposal guidance. They should not begin work until they have the test results and any needed permits.
Gather Tools And Prepare The Room
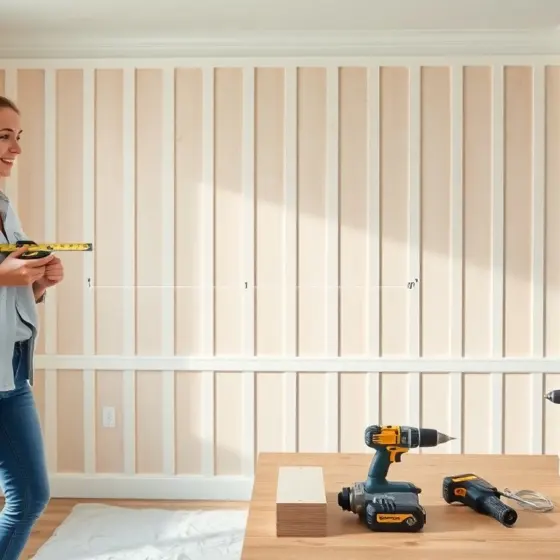
They should gather tools before they remove a popcorn ceiling. Key tools include a garden sprayer, wide drywall knife, drop cloths, plastic sheeting, painter’s tape, ladder, and a shop vacuum with a HEPA filter. They should clear furniture and cover floors with tarp and plastic. They should seal doors and vents with plastic and tape to limit dust. They should turn off HVAC and cover registers with tape. They should place a trash bin near the exit for debris. They should plan for one helper to hand tools and to monitor containment.
The Wet-Strip Method: Step-By-Step Removal Process
They should test a small area first to confirm the wet-strip method will work to remove a popcorn ceiling. They should fill a garden sprayer with warm water and a few drops of dish soap. They should spray a 3-by-3 foot section and wait 10 to 15 minutes. They should then hold a drywall knife at a low angle and gently scrape to remove the popcorn texture. They should work in small sections to keep the surface damp. They should avoid soaking the drywall to remove a popcorn ceiling. They should stop if the drywall softens and adjust timing and water accordingly.
Scraping Tips, Avoiding Damage, And Troubleshooting Common Problems
They should use a wide, flexible drywall knife to reduce gouges while they remove a popcorn ceiling. They should keep the knife blade nearly parallel to the surface. They should replace knife blades that catch or tear the drywall. They should patch gouges with joint compound and let it dry. They should sand patch areas smooth with medium then fine sandpaper. They should address paint adhesion problems by removing loose paint before scraping. They should rent a scaffold for high ceilings. If the texture resists removal, they should try a steamer or consult a pro before they damage the ceiling.
Repair, Sand, Prime, And Choose A Finish
After they remove a popcorn ceiling, they should inspect the drywall for damage. They should apply joint compound to fill scratches and gouges. They should let the compound dry fully and then sand the surface smooth. They should vacuum dust with a HEPA vacuum and wipe with a damp cloth. They should apply a quality primer to seal the drywall before painting. They should choose a finish such as flat paint, eggshell, or a thin knockdown texture. They should apply two coats of paint for even coverage. They should allow proper drying time between coats.
When To Call A Professional And What To Expect From Quotes
They should call a professional when tests confirm asbestos or when the ceiling shows extensive damage. They should also call a pro if they lack time or they want a guaranteed finish. They should get at least three written quotes before they hire a contractor. The quotes should list asbestos handling, surface repair, materials, labor hours, and disposal fees. They should ask for proof of insurance and licenses. They should request a timeline and a payment schedule. They should compare guarantees and past work photos. They should pick the contractor who gives clear scope and fair price.