How to hang peel and stick wallpaper is a common question for DIYers. This guide gives clear steps, tools, and tips. It helps readers avoid waste and mistakes. It explains prep, measuring, cutting, hanging, and removal. It uses simple language. It stays practical. The reader will learn the key actions to get straight seams, flat panels, and a clean removal.
Key Takeaways
- Proper surface preparation including cleaning, repairing, and priming ensures peel and stick wallpaper adheres smoothly and lasts longer.
- Measuring accurately and planning your layout with pattern matching prevents mistakes and ensures seamless wallpaper panels.
- Use essential tools like a level, smoothing tool, and seam roller to apply peel and stick wallpaper evenly with straight seams.
- Address common issues by gently repositioning panels, smoothing air bubbles, and keeping extra panels for easy replacements.
- Follow manufacturer instructions for adhesive setting, cleaning, and gentle removal to protect walls and allow for damage-free updates.
Tools, Materials, And Surface Prep Checklist
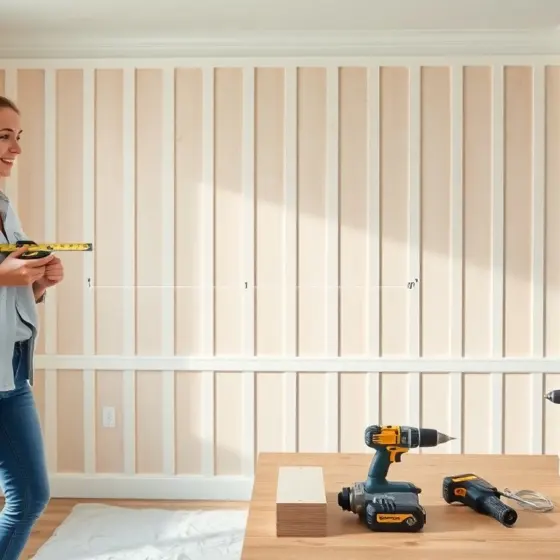
They gather tools before starting. Essential tools include a level, measuring tape, utility knife, smoothing tool, seam roller, pencil, and ladder. Materials include peel-and-stick wallpaper, extra panels, primer (if needed), and painter’s tape. They check wall condition for grease, loose paint, and holes. They remove trim when possible. They test one small wallpaper scrap on the wall to confirm adhesion. They keep a clean cloth and rubbing alcohol for final wipe. They read the manufacturer instructions for temperature and adhesive notes.
Surface Prep Tips: Cleaning, Repairing, And Priming Walls
They clean walls with mild detergent and water. They dry walls fully. They sand or scrape loose paint. They fill holes and dents with lightweight spackle and let it dry. They sand the patched areas smooth. They remove dust with a damp cloth. They apply a primer if the wall is porous or previously painted with dark color. They wait the primer drying time. They maintain room temperature as the label advises. They test a wallpaper corner after prep to ensure the adhesive sticks.
Measure, Cut, And Plan Your Layout
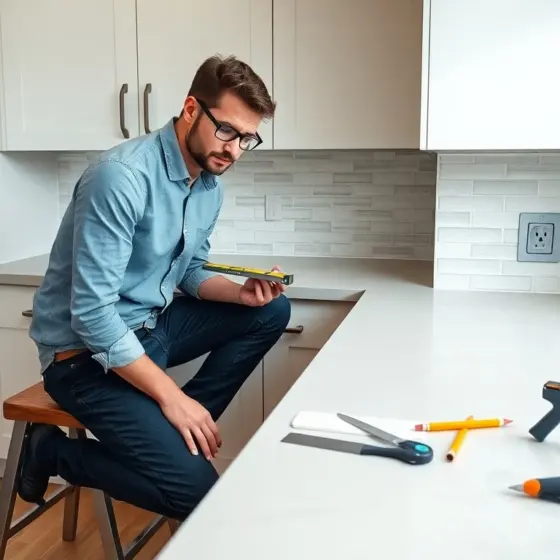
They measure wall height and width for panels. They add extra length for trimming at top and bottom. They cut panels on a flat surface with the pattern aligned. They work left to right for most patterns. They mark a plumb line to start the first panel straight. They plan panel order to keep pattern continuity. They lay out panels on the floor in the planned order. They label panels lightly on the backing so they do not mix them while hanging.
Pattern Matching, Seam Planning, And How To Calculate Panels
They identify the wallpaper repeat to match patterns. They measure from a starting point and add the repeat to each cut so patterns align. They calculate the number of panels by dividing wall width by wallpaper roll width and rounding up. They allow one extra panel for mistakes and pattern offsets. They plan seams over flat areas, not near corners or switches when possible. They stagger seams away from focal points to make them less visible. They keep scrap pieces for final touch-ups.
Step-By-Step Hanging Process (First Panel To Finishing Touches)
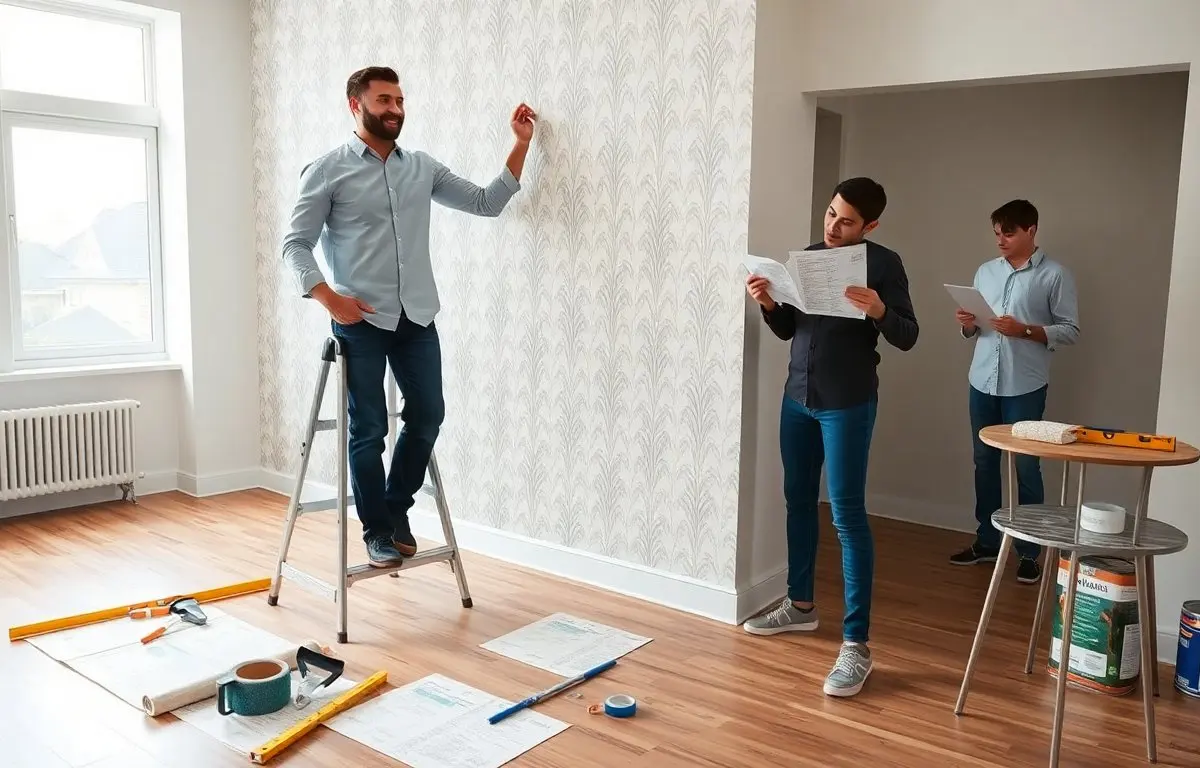
They align the first panel with the plumb line. They peel the backing a few inches at the top and press the paper to the wall. They smooth downward and outward while peeling more backing. They use a smoothing tool to remove air bubbles and press seams. They trim excess at top and bottom with a sharp utility knife and a straight edge. They apply a seam roller gently to seal edges. They repeat for each panel, matching the pattern and butting seams snugly without stretching the paper.
Troubleshooting Common Problems While Hanging
They handle misaligned patterns by lifting the panel gently and realigning before the adhesive sets. They smooth stubborn bubbles by lifting to the nearest seam and reapplying, or by using a pin to release trapped air and smoothing again. They fix small tears with clear adhesive on the back and pressing together. They replace a badly stuck panel rather than fight it. They clean adhesive residue with a damp cloth and mild soap. They keep extra panels to swap when a section fails.
Aftercare, Cleaning, And Safe Removal Tips
They wait the adhesive to set per manufacturer directions before cleaning. They dust with a soft cloth and clean with mild soap and water. They avoid abrasive cleaners and strong solvents. They test a small area first when trying a new cleaner. For removal, they heat the paper gently with a hair dryer to soften the adhesive. They peel slowly at a low angle to reduce wall damage. They use adhesive remover sparingly on residue and wash the wall after. They repair any minor surface damage with light spackle and paint as needed.