Picture a bare dining room wall and a free weekend. How to install wainscoting is manageable with basic carpentry: pick a style, mark a level top line, fix the panels, cover seams with trim, then caulk and paint.
This guide is part of our home improvement projects that add value, and more practical guides sit in the Home Improvement category. Below, each section corrects a common wrong assumption before giving the steps.
Style and material choices
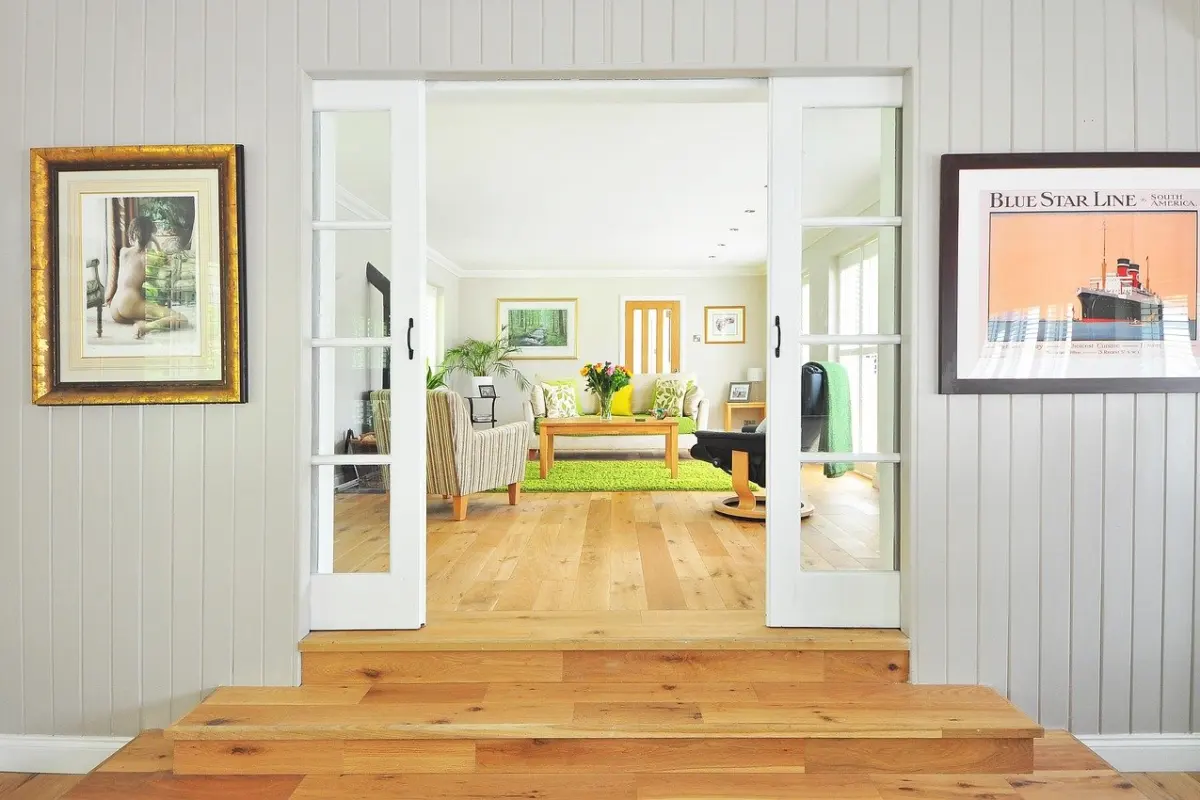
Wainscoting is not one product. It covers raised, flat, beadboard, board and batten, overlay and bamboo panel styles, according to FastMount’s wainscot paneling guide. Raised panel wainscoting has beveled edges and a center panel that sits above the surrounding frame. That makes it a more dimensional, traditional look than a flat or beadboard panel. Match the style to how formal you want the room to feel, then pick the material that suits the finish.
A common belief is that the cheapest-looking option must be the hardest to finish, or that the premium look needs premium material. The comparison below shows how the main options differ in practice.
| Option | Defining attributes | Planning use |
|---|---|---|
| MDF panels | Cost effective, smooth and easy to paint | Choose when you want a painted finish on a budget |
| Beadboard sheets | Lighter; 1/4-inch thick panels in 4 ft x 8 ft sheets; can be fastened with construction adhesive | Suits a lighter panel and an adhesive-based fix; sheet size shapes how you cut each wall |
| Raised panels | Beveled edges with a center panel above the frame | Pick for a traditional, dimensional look in a formal room |
Material attributes come from FastMount and a home-improvement installation guide on Yahoo.
Difficulty is the other half of the decision. FastMount notes that traditional installs leave visible nails or screws that can detract from clean lines, and that aligning the panels is labor intensive. Expect careful layout to matter more than speed, whichever style you choose.
Wainscoting height
There is no single required height, but about 3 feet is the safe default. A home-improvement guide on Yahoo suggests a wainscot about 3 feet high and capped with chair rail molding. Trade body Think Wood adds that 3 feet (36 in) is the height most commonly used by designers and builders to add maximum visual impact.
The misunderstanding is that taller walls need a taller wainscot by rule. They do not, but you can scale up as a design choice. One DIY beadboard project set its final trim height at 6 feet, about 2/3 of its 9 ft ceilings, as described on Just a Girl and Her Blog. Treat that as a tall-panel look, not the standard. For a typical room, start at 3 feet with a chair rail on top. Go taller only if you want the wall to read as mostly paneled and you accept a larger paint area.
- Standard rooms: use the 3-foot finished height with a chair rail cap.
- Tall ceilings with a dramatic look: consider a height scaled to the ceiling, such as the 2/3 ratio in the 9 ft example above.
- Chair rail position: the rail marks the finished top of the wainscot, so settle the height before you buy panels or trim.
Tools you need
You do not need a full workshop, but you do need reliable layout, cutting and fastening tools. The lists in the FastMount guide and the Think Wood guide overlap heavily.
- Layout and marking: a tape measure, pencil, laser or bubble level, and a stud finder.
- Cutting: a compound miter saw, and a table saw for ripping sheet material.
- Fastening: a brad nailer, finish nail gun or hammer. One DIY project used an 18-gauge brad nailer with 1 1/2 in brads, per Just a Girl and Her Blog.
- Sealing and removal: a caulk gun, and a pry bar for taking off old trim.
A brad nailer is the one tool worth borrowing or buying, because a hammer is slower and harder to keep neat on long runs. FastMount still lists a hammer as an option, so a smaller job is possible without one.
Marking the layout
Careful marking prevents most of the problems that look like bad carpentry later. Measure each wall, find the studs with a stud finder, and use a level to mark the top line of the wainscot at your chosen height. Check the line against the corners, because a line that drifts off level shows up most clearly at the chair rail.
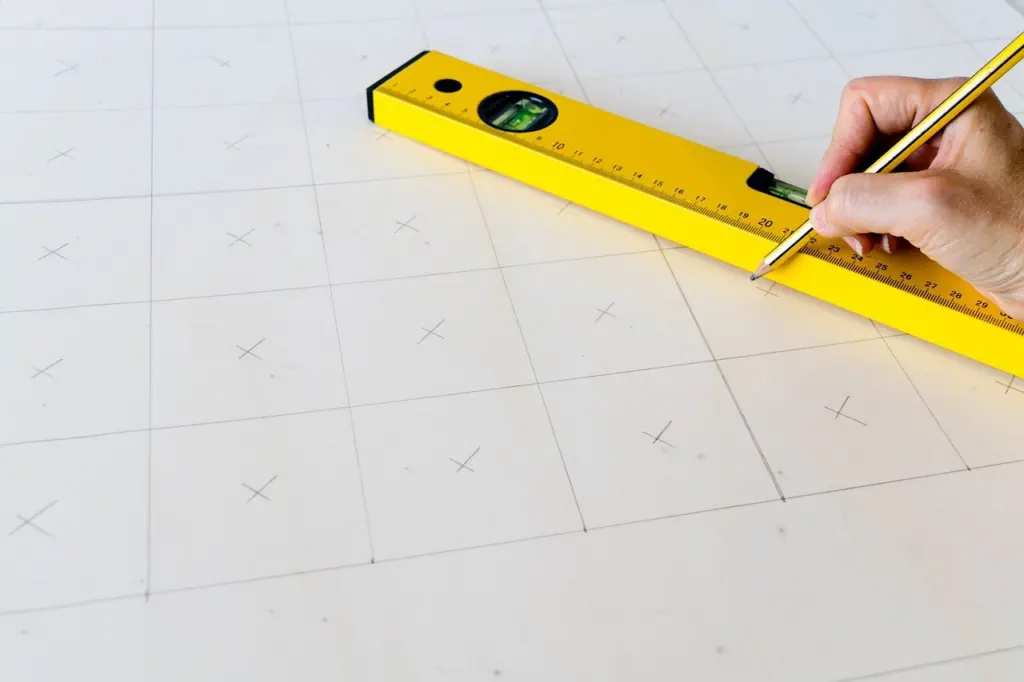
Also plan your seams. Think Wood advises planning cuts on standard 4×8 plywood sheets so that the trim pieces will hide any seams. Lay out where each sheet ends before you cut, and keep joins away from the most visible spots.
The baseboard is another point people overlook. If the baseboard profile is not compatible with the panels, they can stick out over its edge and look odd, as one DIY writer found. Check how the panel face meets the baseboard before you fix anything.
Fixing rails and panels
Fixing method depends on the wall and the material. A beadboard guide republished on Yahoo says panels can be fastened with construction adhesive, or with furring strips nailed to the wall. On one DIY project where no stud was available, the writer attached beadboard with liquid nails and 18-gauge brads into the drywall, and used screws where studs were found, per Just a Girl and Her Blog.
Use that as a guide to method rather than a rule. Adhesive plus brads can hold panels where studs do not line up, and studs give the stronger hold when your layout hits them. Follow this order on each wall:
- Fix the bottom reference first, so the panel base sits true against the floor line and baseboard.
- Set the panels or sheets, working from a corner and checking level as you go.
- Fit the chair rail or cap trim along the marked top line.
- Return to the baseboard and any door or window trim so the joins read as one assembly.
Because visible fixings can detract from clean lines, decide where nails will land before you start, and keep them where the trim and later finishing will conceal them.
Caulking and painting
Caulk goes anywhere wood meets wood. One DIY project sealed corners, baseboards and door and window trim joints, as described on Just a Girl and Her Blog. That small step is what makes a paneled wall look built-in rather than assembled.
Painting beadboard is a little trickier than painting flat panels because of its many small dips and crevices. Work the paint in with a brush, then use a roller on the flat areas. MDF is easy to paint, so smooth panels need less correction. For technique on rails, cap trim and casings, see our guide on how to paint trim.
While you are working around door casings, check the doors themselves. A hinge that squeaks is a quick separate fix, covered in How To Fix A Squeaky Door Fast: Simple Steps For Quiet Hinges (2026 Guide).
Frequently asked questions
| Question | Answer |
|---|---|
| Is MDF a good choice for wainscoting? | Yes, if you plan to paint. FastMount describes MDF as cost effective, smooth and easy to paint. |
| Do I need a brad nailer? | It is the most convenient option, but not the only one. FastMount lists a brad nailer, finish nail gun or hammer for fastening trim and panels. |
| Do panels have to land on studs? | Not always. One DIY project used liquid nails and 18-gauge brads into drywall where studs were not available, and screws into studs elsewhere, per Just a Girl and Her Blog. |
| Can I use full sheets instead of individual panels? | Yes. Beadboard is sold in 4 ft x 8 ft sheets of 1/4-inch thick panels, and standard 4×8 plywood sheets can be used behind trim, as Think Wood describes. Plan your cuts so the trim hides the seams. |