
How to hang wallpaper is a common question for DIYers. This guide gives clear steps to plan, prepare walls, mix paste, cut paper, and hang panels. It shows common mistakes and efficient techniques. The steps assume basic tools and a single helper. The reader will learn cost considerations, material choices, step-by-step techniques, time estimates, and simple checks that prevent bubbles and misaligned patterns. Read through the three main phases — planning, preparing, and pasting — so you can spot problems early and avoid rework.
Key Takeaways
- To successfully learn how to hang wallpaper, start by precisely measuring your walls and factoring in extra material for trimming and pattern matching.
- Prepare your walls thoroughly by cleaning, repairing holes, and priming to create a smooth surface that ensures better wallpaper adhesion.
- Mix wallpaper paste accurately according to manufacturer instructions and apply it evenly either to the paper or wall, depending on your product type.
- Cut wallpaper panels carefully with a sharp blade, allowing extra length for trimming at edges and matching patterns precisely.
- Plan your budget by considering costs for wallpaper, adhesive, tools, and labor, and choose the right wallpaper type based on room durability needs.
Plan Your Project: Measure, Budget, And Choose The Right Wallpaper
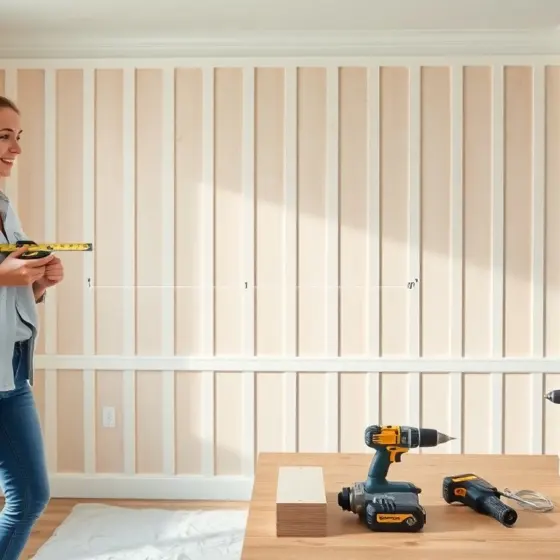
Measure walls before ordering. Take wall height from floor to ceiling at several points and use the tallest measurement to allow for uneven ceilings. Measure width of each wall and record locations and sizes of doors, windows, and built-in units so you can plan panel placement. Use a consistent unit of measure and draw a simple elevation of each wall marking outlets, switches, and obstructions. Add 10 percent waste for trims and pattern matching; for large repeats or heavy patterns increase that allowance accordingly. Knowing how to hang wallpaper begins with accurate measurements — small errors make the rest of the job harder.
Decide a budget next. List material costs (wallpaper, paste, primer), rental or purchase costs for tools (stepladder, seam roller, plumb line), and optional labor if you hire help. Compare wallpaper types — vinyl, non-woven, traditional paper, and peel-and-stick — and match the choice to the room use: moisture-prone rooms usually need washable or vinyl products, while living rooms may benefit from traditional textures. Measure pattern repeat and calculate how many rolls you’ll need based on roll width and pattern match. Keep receipts, note roll batch numbers, and keep a small spare piece for future repairs or touch-ups.
Plan the sequence and timing. Determine whether you’ll remove existing paper or hang over it (only acceptable in very specific cases). Allow 24–48 hours for wall prep and primer to dry, and block off a full day per average-sized room for hanging if you’re new to the task. Assemble a basic tool kit before you start: tape measure, spirit level or plumb bob, sharp utility knife with spare blades, pasting table or clean flat surface, seam roller, smoothing brush or plastic smoother, sharp scissors, bucket, roller and tray, and a pencil. Clear furniture from the room or move to the center and cover it; protect floors with drop cloths.
Prepare The Walls: Clean, Repair, And Prime For A Smooth Base
Clean walls before any work. Remove dust, grease and any loose material — vacuum, then wipe with a mild detergent solution, rinse, and let dry. Remove old wallpaper backing, adhesive residue, flaking paint, and wallpaper paste; any remaining film can cause peeling later. Scrape loose paint and sand glossy surfaces lightly so primer will bond. For damp or stained walls, address the source of moisture before hanging; wallpaper will not stop leaks and applied material can trap moisture and promote mold.
Repair and level surfaces. Fill holes, cracks and dents with an appropriate filler, allow to dry, sand smooth, and seal patched areas. For very uneven walls consider using a lightweight skim coat to get a uniform surface. Mark high and low spots and correct them; small irregularities can telegraph through thin wallpapers. If the wall is very porous or newly plastered follow the wallpaper manufacturer’s primer recommendation — some papers require a specific sizing agent or universal primer to ensure consistent paste absorption.
Prime the surface next. Apply a suitable primer for the wallpaper type and let it dry fully according to product instructions — typically several hours. Priming does two things: reduces paste absorption and provides a stable, consistent background so the wallpaper adheres evenly. Mask and remove switch plates and outlet covers and turn off power where needed. Check the room lighting and plan how seams will read in natural and artificial light so pattern and seams are less visible. A final wipe to remove dust just before pasting will give the best adhesion.
Paste And Cut: How To Mix Adhesive, Apply Paste, And Trim Edges
Mix adhesive by following manufacturer directions. Different papers require different adhesives: some come pre-pasted, some need standard paste, and some require heavy-duty adhesives for textured or vinyl coverings. Measure water and powder precisely, use clean cold water, and add powder to water slowly while stirring to avoid lumps. Stir until the paste reaches a smooth, lump-free texture; many pastes benefit from a short rest period (known as “standing time”) to fully hydrate the starch or cellulose. Keep paste covered while working to prevent a skin from forming and occasionally re-stir to maintain consistency.
Apply paste to paper or wall per product guidance. For paste-the-paper types, lay the sheet paste-side up on a clean table and use a pasting brush or roller to coat the back evenly, spreading paste to within an inch of each edge. For paste-the-wall systems, use a roller or brush to apply a uniform coat to the wall, working in areas you can comfortably cover with one strip so the adhesive remains tacky but workable. Fold pasted strips into a “book” or “booking” with adhesive sides together for the recommended time to allow glue activation; this prevents drying and makes the paper more pliable when you lift it to the wall.
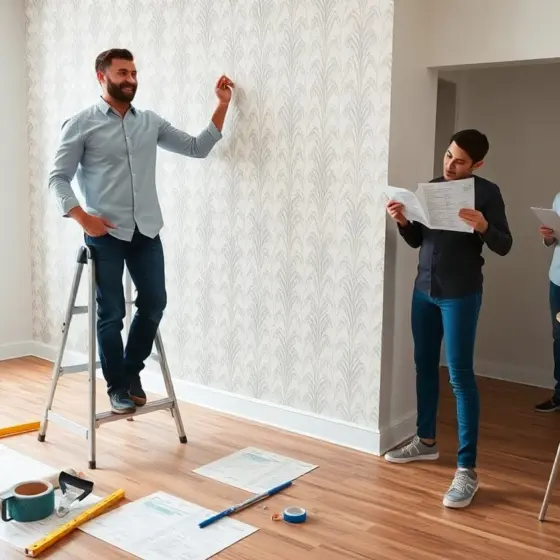
Hang strips with care. Use a plumb line or level to establish a true vertical starting line, especially for patterned paper. Align the first drop precisely; a single out-of-plumb first strip will make all subsequent seams look crooked. Smooth from the center outward with a wallpaper brush or plastic smoother to expel air and excess paste, and use a seam roller lightly along joins (avoid over-rolling vinyl seams which can thin the edge). Keep seams butted firmly — do not overlap — unless the product specifies overlap trimming.
Cut panels to length with a sharp knife. Measure and allow extra length for trimming at the top and bottom, then trim flush with a straightedge once the paper is positioned and smoothed. Replace blades often to ensure clean cuts and avoid tearing. For tricky areas around switches, sockets or radiators, remove plates and use a sharp blade to cut neatly, backing the knife with a small ruler if needed. Wipe off excess paste with a damp sponge as you go — avoid rubbing the surface — and inspect seams and pattern alignment continuously. If you encounter bubbles, small ones can be smoothed out toward the edge; larger trapped air should be lifted carefully, pricked with a fine pin, and smoothed down to release the air and re-adhere the paper.
Troubleshooting and finishing tips: allow at least 24 hours before replacing outlet covers and light fixtures to ensure the wallpaper has fully bonded; clean tools immediately after use; keep a small repair kit with spare paste and a scrap of the paper for future fixes. If a seam starts to lift later, apply a small amount of paste behind the seam with a syringe or artist’s brush and press firmly. Learning how to hang wallpaper well takes practice — start on a single feature wall for your first project and you’ll build the technique and confidence needed for larger rooms.