How to clean and season cast iron belongs at the top of every cook’s skills list. This guide gives clear steps that help preserve pans, fix rust, and build a long-lasting nonstick surface. It shows everyday cleaning, deep restoration, and a simple seasoning routine. The instructions use plain language and short steps so readers can act immediately and keep cast iron in prime condition.
Key Takeaways
- Proper cleaning and seasoning preserve cast iron pans, prevent rust, and maintain a nonstick surface for decades.
- Everyday cleaning includes rinsing with warm water, scrubbing lightly without soap, drying thoroughly, and applying a thin oil layer while warm.
- Deep cleaning involves removing rust with steel wool, boiling water to loosen residue, or stripping to bare metal when needed, followed by immediate seasoning.
- Season cast iron by applying a thin coat of high-smoke-point oil and baking upside down at 450–500°F for one hour, repeating thin layers for new or stripped pans.
- Maintain seasoning by cleaning after use, lightly oiling warm pans, avoiding prolonged cooking of acidic foods, and repeating seasoning if food sticks.
- Store cast iron in a dry place with a paper towel inside to absorb moisture and always handle hot pans safely to prevent damage and injury.
Why Proper Cleaning And Seasoning Matter For Cast Iron
Cast iron pans last for decades when users clean and season them correctly. Cast iron absorbs oil and forms a protective layer. That layer prevents rust and makes the surface nonstick. If users skip cleaning or seasoning, pans rust and food sticks. Damaged pans also transfer off-flavors to food. Proper care saves money and preserves performance. It also keeps heat distribution steady. Finally, proper care reduces the need to replace cookware and protects heirloom pieces.
Cleaning Cast Iron: Everyday Care And Deep Restoration
Everyday Cleaning: Quick, Safe Methods
He rinses the pan with warm water right after cooking. She scrubs with a soft brush or nonmetal scrub pad to remove food bits. They avoid soap on strong, well-seasoned pans most of the time. He dries the pan fully with a towel or by heating it on the stove for a minute. She rubs a thin layer of oil over the surface while it is warm. This last step keeps the seasoning and stops rust.
Deep Cleaning: Removing Rust, Sticky Residue, And When To Strip
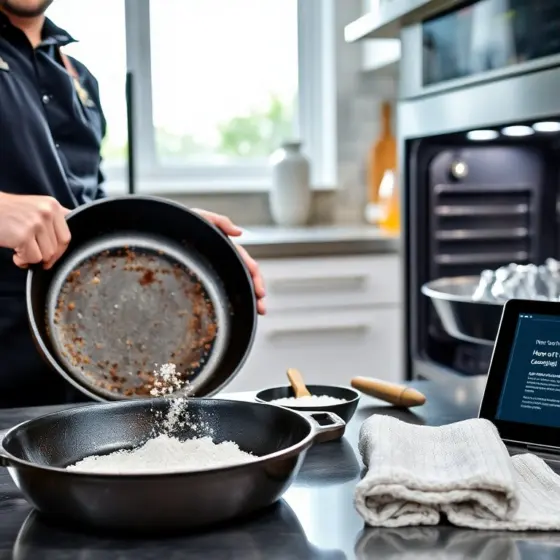
When rust appears, he scrubs the pan with steel wool until the rust is gone. She rinses and dries the pan, then applies oil and heats it briefly. For sticky residue, he boils water in the pan for five minutes to loosen gunk, then scrapes with a wooden spatula. When the pan has heavy buildup or a flaking layer, they may need to strip the pan down to bare metal. To strip, he scrubs with a paste of coarse salt and water or uses an oven cleaner according to product directions. She rinses completely after stripping. After any aggressive clean, they must season the pan right away to rebuild the protective layer.
How To Season Cast Iron: A Simple Step-By-Step Process
Step 1: Clean the pan. He removes all food and residue. She dries the pan fully.
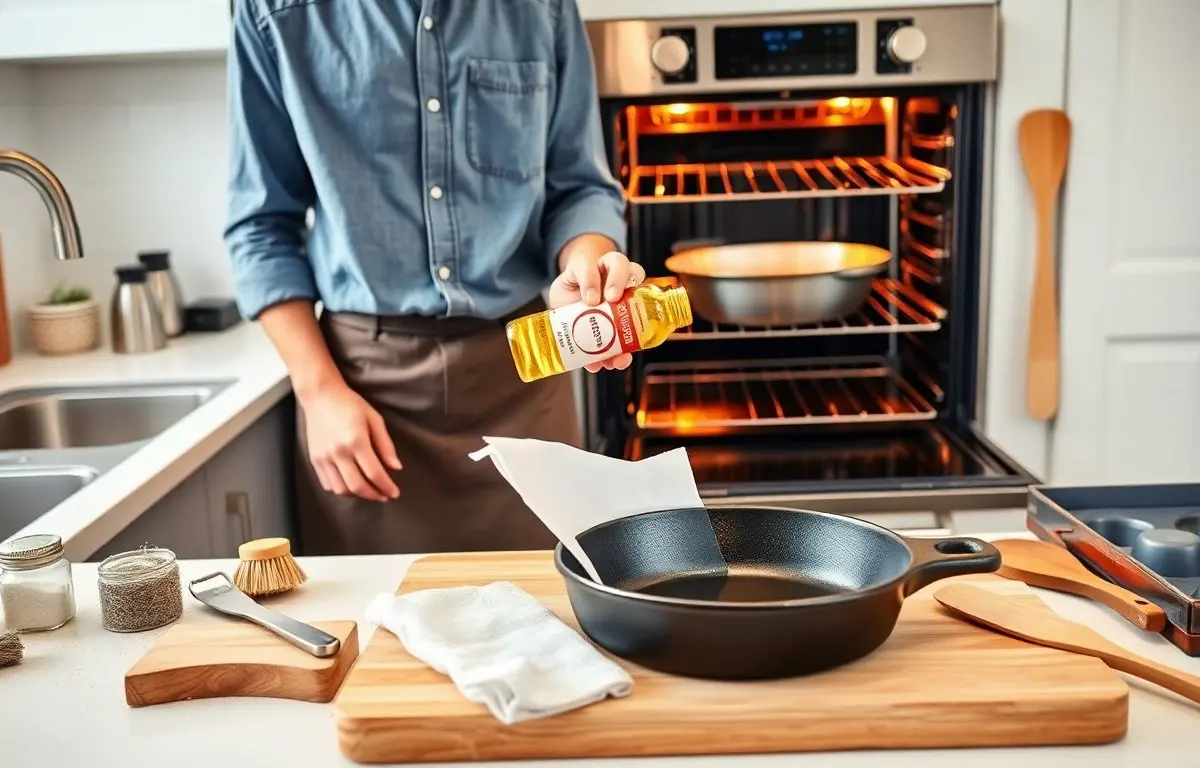
Step 2: Choose oil. They pick a high-smoke-point oil such as flaxseed oil, grapeseed oil, or vegetable oil. Flaxseed oil creates a hard surface but can flake if applied too thickly. Vegetable oil works well and stays forgiving.
Step 3: Apply a thin coat. He pours a small amount of oil on a paper towel. She rubs the oil over all surfaces, inside and out, until the layer looks even and very thin. They wipe away excess oil until the pan does not feel sticky.
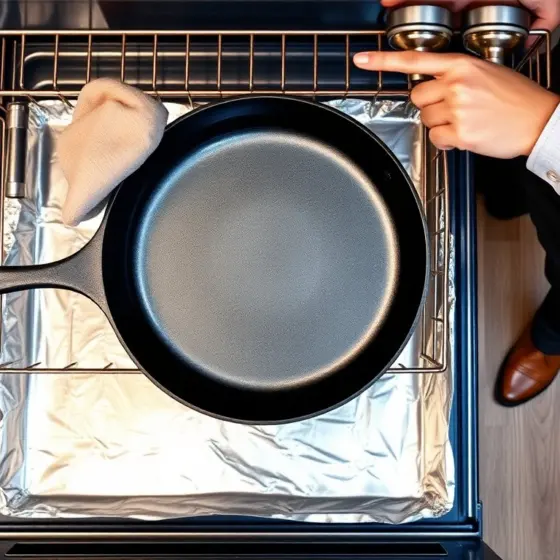
Step 4: Heat the pan in the oven. He places the pan upside down on the middle rack. She sets a foil-lined tray on the rack below to catch drips. They preheat the oven to 450–500°F (230–260°C) and bake the pan for one hour. The high heat bonds the oil to the metal.
Step 5: Cool in the oven. He turns off the oven and lets the pan cool inside until it reaches room temperature. She repeats the oiling and heating process two to three more times for new or stripped pans. Multiple thin layers create a stronger nonstick surface.
Step 6: Maintain the seasoning. After each use, he cleans the pan with warm water and a brush and then applies a thin coat of oil while the pan is warm. She avoids cooking highly acidic foods for long periods until the seasoning builds up. If food starts to stick, they add another light seasoning cycle.
Practical tips and troubleshooting
If the pan has sticky or uneven spots after seasoning, he heats the pan and wipes it down with a paper towel to remove excess oil, then repeats one light seasoning cycle. If the pan has a dull, gray finish, she repeats two thin seasoning cycles to achieve a darker, slick surface. They should store the pan in a dry place and place a paper towel inside to absorb moisture. For cast iron care on the go, he carries a small bottle of oil to recoat pans after cleaning at outdoor grills or camp stoves.
Safety notes
He uses oven mitts when handling hot cast iron. She places hot pans on heat-safe surfaces. They avoid thermal shock by not running cold water over a red-hot pan. Those steps protect both the pan and the cook.