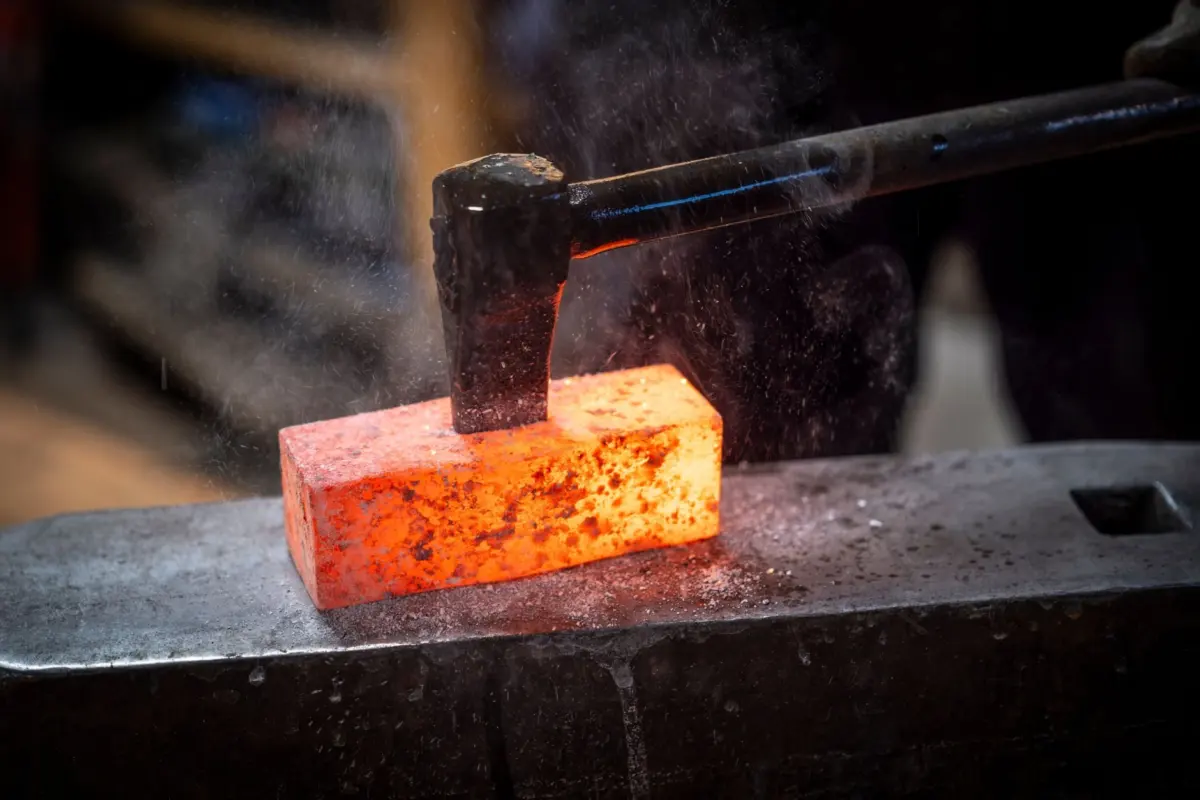
Blacksmithing for beginners needs at least four things: a forge to heat steel, tongs to hold it, an anvil to support it and a hammer to shape it. A home start can cost a few hundred dollars if you buy sound tools.
Iron and steel are only one part of a finished home, so the interior design materials guide shows where forged metal sits among other materials and finishes.
How forging works: heat, hold, support, hit
Forging comes down to four jobs done in a repeating cycle. One smith writing for the Art of Manliness describes them as the Three Hs: Heating, Holding and Hitting. The fourth job is support, which is why an anvil sits under the work.
This cycle explains most beginner decisions. Steel only moves under the hammer while it is hot, so the forge sets the pace. Tongs let you keep the piece in position while it is too hot to touch. The anvil gives the hammer something solid to push against. If any one of the four is weak, the other three cannot make up for it.
The practical result is that you should buy or borrow all four functions before you start, then upgrade the weakest one first. A good hammer on a poor anvil still wastes effort, and a good anvil is no use if the tongs slip off the stock.
Starter tools and what they cost
Each tool has a specific job and a specific way to disappoint you. The table below turns that into a buying order.
| Tool | Job in the cycle | What to check | Planning use |
|---|---|---|---|
| Forge | Heats the steel | Needs fuel and air in quantity; one smith works at about 1400 °F, and welding heat or tool steel can need more | Choose a forge that can deliver steady heat, and plan the space around its air and fuel supply |
| Tongs | Hold the hot work | Must match the stock shape and size; a tong for 1/2 in square rod will fail on 1/4 in round rod | Buy tongs for the bar you will actually forge, not a mixed set you cannot use |
| Anvil | Supports the work | Anvils at about $200 exist, but cheap ones are poor for real work | Spend carefully here, since the anvil is the tool you will hit against for years |
| Hammer | Moves the metal | Accuracy matters more than force; a small ball-pein hammer suits riveting | Start with one general hammer and add a riveting hammer when a project calls for it |
Figures are from the ABANA beginner guide and the Art of Manliness blacksmithing primer.
ABANA says getting started at home is possible for a few hundred dollars, though it does not state a currency or itemise the budget. Treat that as a realistic ceiling for a first kit built around secondhand or modest tools, not as a promise that every item can be bought new at that level.
Setting up a home forge safely
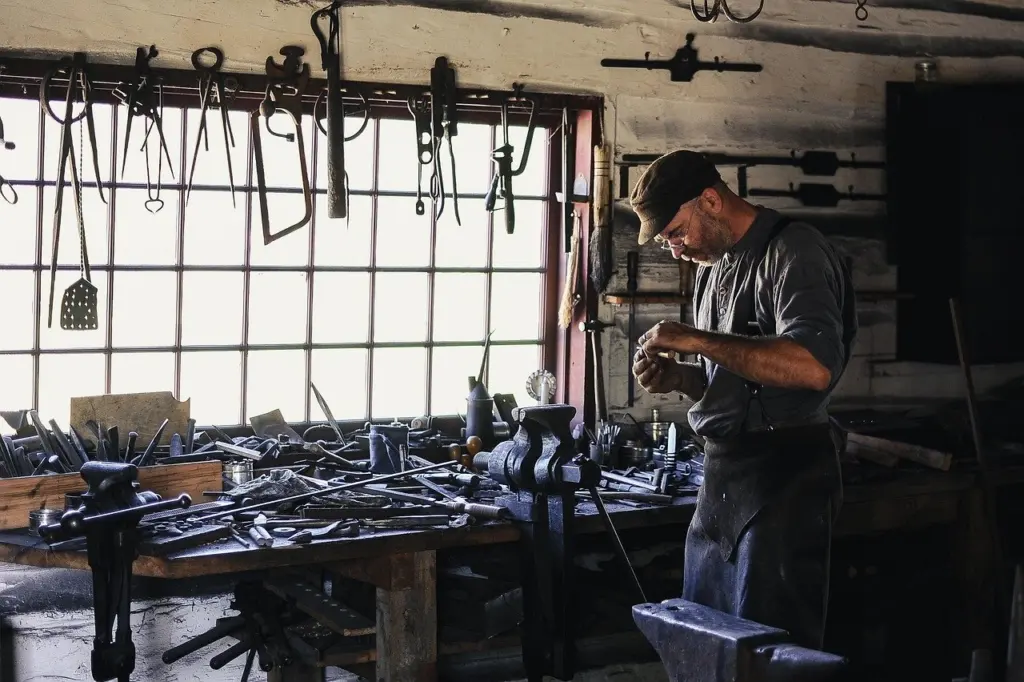
A safe home forge starts with the fact that forges need fuel and air, and lots of it. That makes the location the first safety decision. Choose a place where fuel can be stored and burned with plenty of moving air, rather than a closed corner of a house.
- Space and airflow: Give the forge room to breathe and keep the area around the anvil clear so you can move without catching hot work on anything.
- Hearing protection: Wear it whenever you hammer on steel. The Art of Manliness primer shows the smith doing so as a matter of course.
- Eyes, hands and feet: Wear eye protection, gloves and sturdy footwear while handling hot stock, and ask your instructor to check your kit before your first heat.
- Qualified instruction: ABANA advises learning from experienced, qualified instructors. A first session with one can catch unsafe habits before they set.
If your only available space is attached to your living area, wait. A detached shed or open-sided workspace removes several risks at once, and a class at a local forge lets you learn the cycle without building anything yet.
Basic techniques in order
Work through the techniques in the order the cycle suggests: heat, then control, then shape. Skipping ahead to shaping before you can reliably heat and hold the work is the usual cause of wasted bar.
- Heat the stock. Bring a short piece of mild steel to forging heat and learn what that looks like in your own forge. The primer’s figure of about 1400 °F is one smith’s working heat, so use it as orientation rather than a setting.
- Hold it with matched tongs. Check that the jaws fit the shape and size of the bar before you pull it from the fire, because a poor fit lets hot work slip.
- Hit accurately. The primer notes that hitting accurately is more important than hitting hard, so aim for placing each blow where you intend before adding force.
- Apply one of three forces. The same source names three fundamental ways to apply force: drawing out, upsetting and peining. Pick one per session so you can see what each does to the bar.
- Reheat before the steel goes cold. Return the piece to the forge when it stops moving easily instead of forcing it, then continue.
Mild steel is the sensible practice stock, and tool steel is better left for later because it can need more heat than general forging. Reading the full primer before your first session helps you recognise these terms when an instructor uses them.
First projects for the home
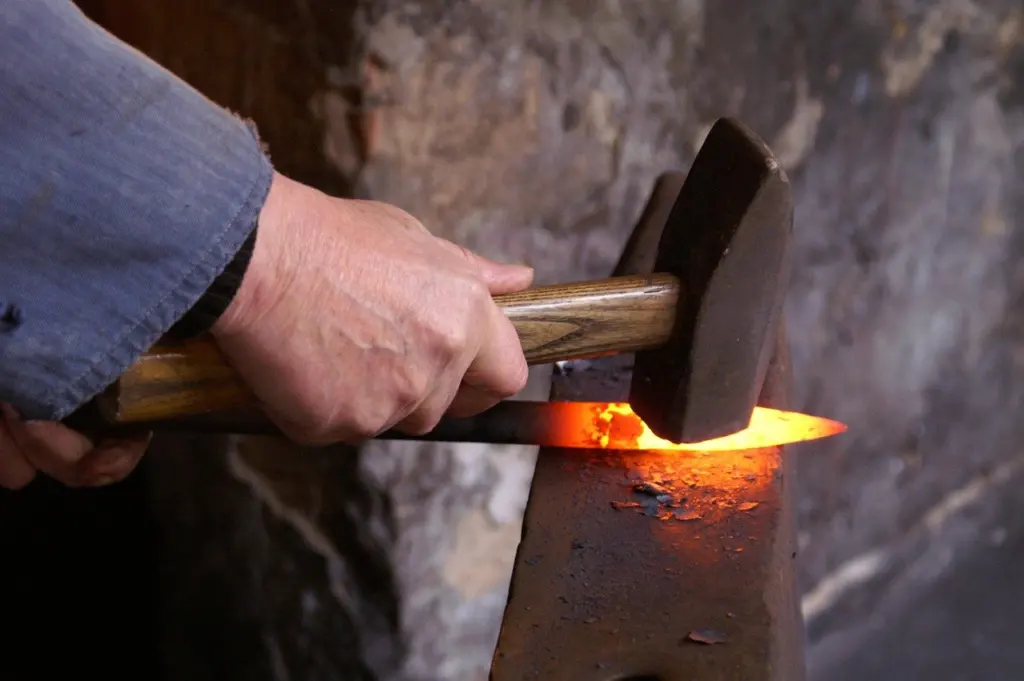
The best first projects are the ones that repeat a single move. The Art of Manliness primer describes making a nail point by hitting and turning the stock to form a four-sided pyramid, which is a clean exercise in accurate hitting and rotation. It also notes that nails were once made one at a time, by hand, so a forged nail is a fitting first piece.
From there, the path runs towards objects for the house. The same source says smiths historically made hardware such as hinges and pulleys, along with farm implements and nails. That gives a home-focused ladder:
- Nail or pointed pin: practises heating, turning and accurate blows, and can serve as a simple decorative peg.
- Tapered hook or hanger: extends the same drawing-out skill into something useful for a coat or plant.
- Hinge or fixed hardware: joins two metal pieces, where a small ball-pein hammer is used for riveting them together.
- Grille or panel: ABANA’s local affiliates teach a curriculum that runs from the very first taper to a fully completed grille.
Forged hardware only looks right when the surrounding room supports it. If you are drawn to iron in the home, the buyer’s guide on Cast Iron Radiators: Timeless Heat — The Complete Buyer’s Guide & Maintenance Tips (2026) shows how substantial iron pieces work in an interior, and Cast Iron Clawfoot Bathtubs: Timeless Luxury, Buying & Care Guide (2026) does the same for a bathroom. Those are cast pieces rather than forged work, but the same finishes and tones help hand-made hooks and hinges sit comfortably beside them.
Progressing beyond the first projects
A structured route keeps you from repeating the same piece indefinitely. ABANA offers a self-paced National Curriculum with three proficiency levels: Beginner (Level I), Intermediate (Level II) and Advanced (Level III). It also publishes a series of 26 articles teaching the fundamentals of hand forging, which is a good companion to class time.
Use the levels as a checklist. Stay at Level I until heating, holding and hitting feel routine, then move up when you can finish a piece without rescuing it with extra heats. Practising one skill per session and finishing a small piece each time usually serves you better than starting an ambitious project.
Frequently asked questions
Does hitting harder shape steel faster?
Not reliably. The Art of Manliness primer says accurate hitting matters more than hard hitting, so put each blow where it belongs before worrying about power.
Can I learn blacksmithing without a class?
You can read and practise alone, but ABANA recommends instruction from experienced, qualified instructors. It lists 90+ affiliate organisations worldwide, so a local group is often within reach.
Should a home forge burn propane or coal?
The primer’s author uses propane because it is clean and relatively inexpensive, and notes that coal is dirty and better suited to a detached shop. For a first forge at home, propane is the easier choice.
What are the holes and horn on an anvil for?
The primer describes an anvil with two holes, the pritchel and the hardy hole, plus a horn and an upsetting block. They give you different surfaces for supporting and shaping work once the basic hitting is in place.